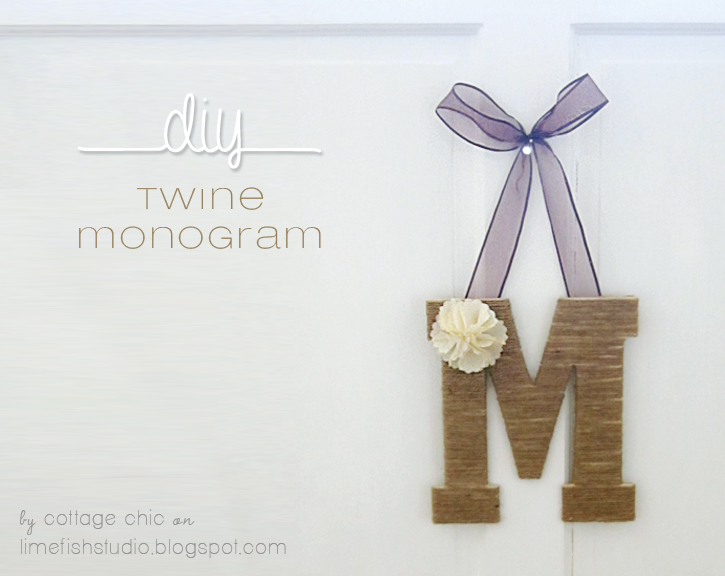

I’ve been loving all of the twine wrapped letters posted on pinterest for months now, so I decided to take the project on myself! However, instead of keeping it, I decided it would make a cute wedding gift for my good friend and colleague Katie, who is getting married in 2 months!
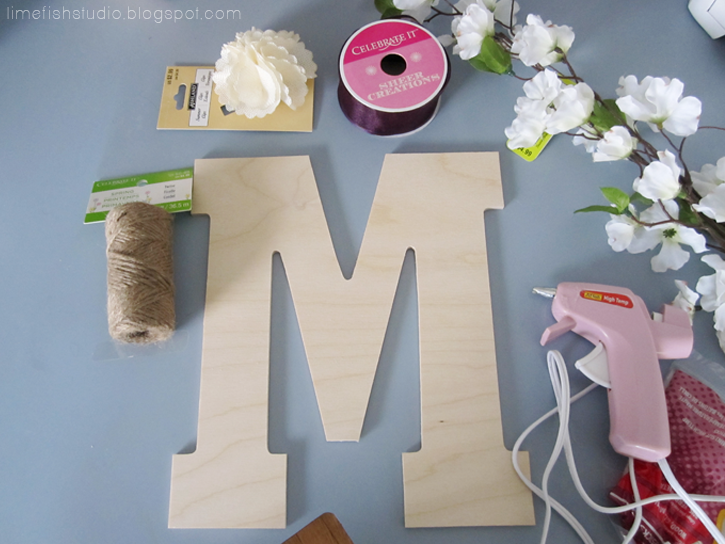
After spending an hour in Michaels, I left with supplies that were not on my original list. I had been looking for the cardboard block letters, but could not find them anywhere (I had actually seen some at Joanns the day before, but thought they were too small, and NO WAY was I running back there, so I had to find something that would work!). I ended up stumbling upon some wooden letters- and I loved their shape! The letters were less than 1/2 in thick, which I thought would make it lay perfectly flat once I was done.
I also found the LAST roll of twine (120 ft) and some sheer ribbon in Eggplant (the color for Katie’s wedding is purple!). I have seen some cute DIY flowers on pinterest, and had planned on making some of my own, or using some silk flowers, but picked up a little burlap flower clip, which I know would be super cute.
Overall, here were the supplies and cost of this project:
► Wooden letter in Collegiate shape- $3.99
► Sheer ribbon in Eggplant- $3.99
► Twine- $2.99
► Burlap clip- $2.99
► Hot glue gun and glue sticks


 After getting the hot glue gun warmed up, I was ready to begin!
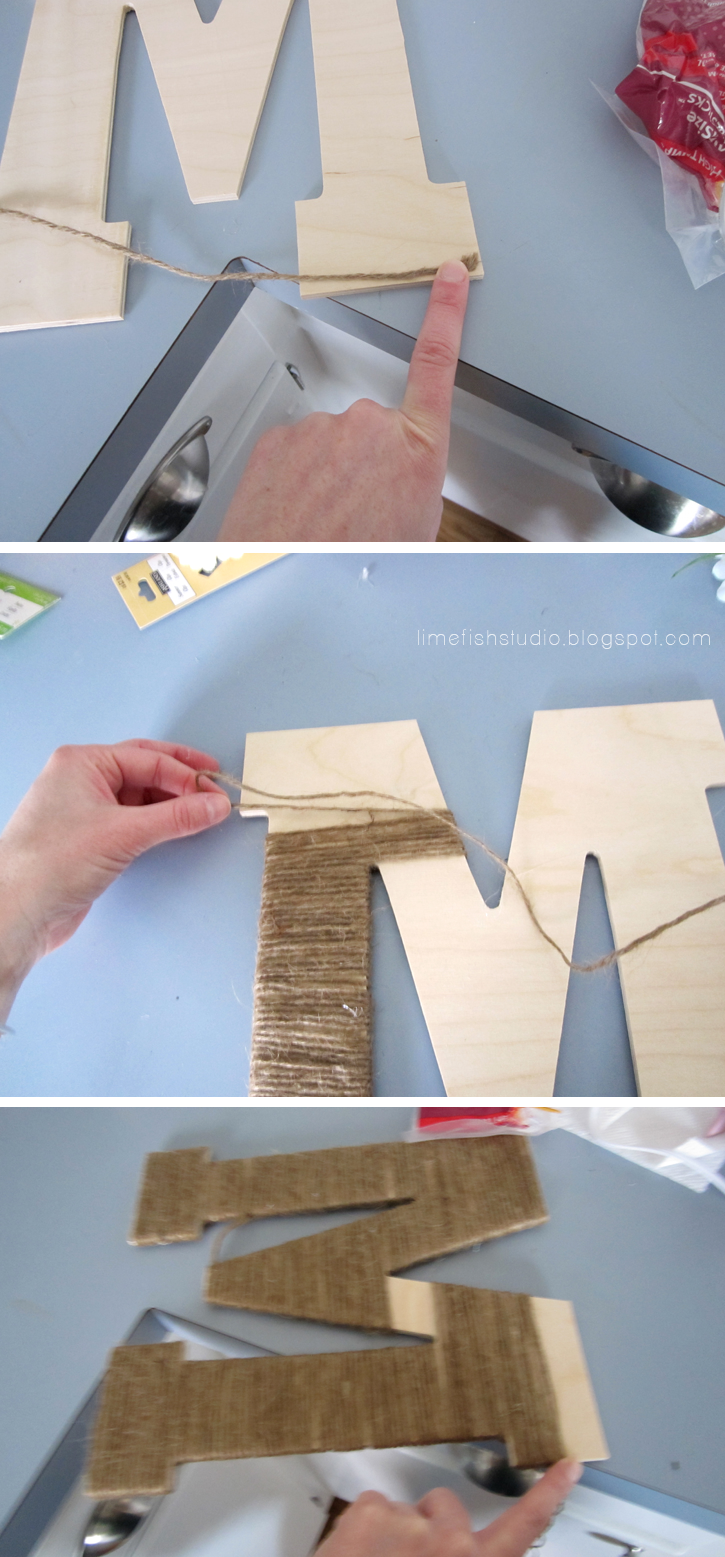
 Starting on the back of the letter, I put a bit of hot glue and stuck the end of the twine.
Then I started wrapping the twine all the way around the letter- only gluing the twine on the back of the letter and very sparely.
I was worried about running out of twine, so I wanted to be able to wiggle the strands and spread them out if need be.
I wrapped it all the way up to the top corner of the M, and then cut and glued the twine at the end.
I was worried about running out of twine, so I wanted to be able to wiggle the strands and spread them out if need be.
I wrapped it all the way up to the top corner of the M, and then cut and glued the twine at the end.
After I finished the top of the M, I went back to the middle section and continued to work there. Just dabbed the glue and wrapped and wrapped! It went by really quickly, and I wasn’t bothered if I had to cut the twine and start on another section.
Finally I had covered the whole letter with the twine!
I made a bow out of the ribbon and attached the ends to the top of the back of the M with hot glue. I had to make sure the twine was glued down pretty well so that it wouldn’t pull it when hanging.
I stuck the cute little burlap clip onto the twine and it was finished!!
Another quick, cute and easy project completed- within an hour as well!!
I hope Katie loves it- perhaps she can use it at her wedding or just on her front door after they get married!

Thanks so much for reading and best wishes with your new project!
megan from
member of the 2013 |
|


.png)