 |
 |
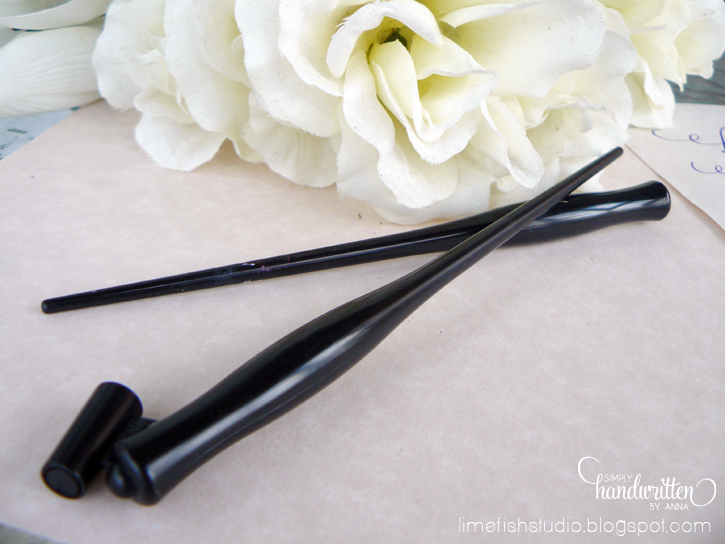
 Penholders:
 Penholders can be made of cork, wood or plastic. I find that the plastic ones are nice and inexpensive to begin with. (Especially for the times when my ink somehow migrates up the holder – I can simply rinse it off without getting too much on my hand.)
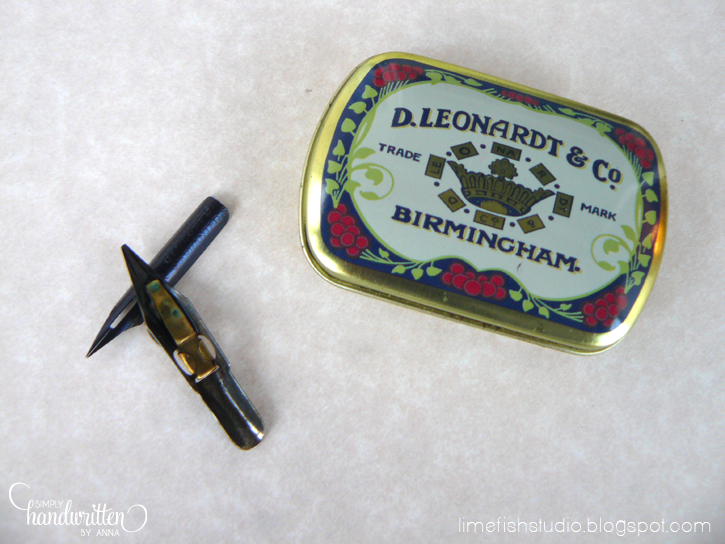
The nibs are where the fun begins! Depending on the desired size of your lettering and the alphabet you are using, you will need to select the correct nib. I find that most of my projects can use a Speedball C-6 or C-5 (the nibs get wider as the number goes down). It allows me to make the thin lines and gives me just enough flexibility to use the correct amount of pressure for the thicker parts of the letters. I pick up my nibs at a local art store, and they only cost a couple bucks a piece. At a big store like Michaels, I noticed that the nibs are sold in packages of six or so (of different sizes), so don’t forget the weekly ad coupon!
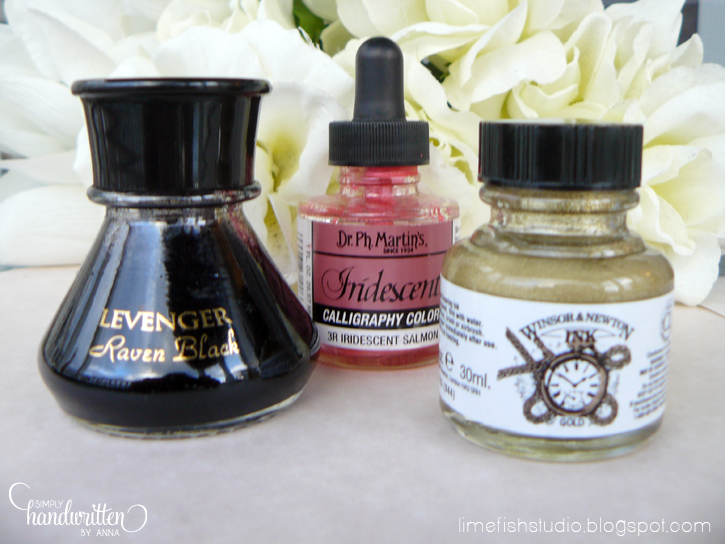
Most art and craft stores will have ink suitable for calligraphy. You will find many different colors, and often you can purchase the primaries in a package if you are just starting off. I do use black most often because it is versatile and shows the best on most surfaces. There are also iridescent, metallic inks and gouache inks, which will need a bit of practice to get used to. Ink will probably be your most expensive tool used in calligraphy.
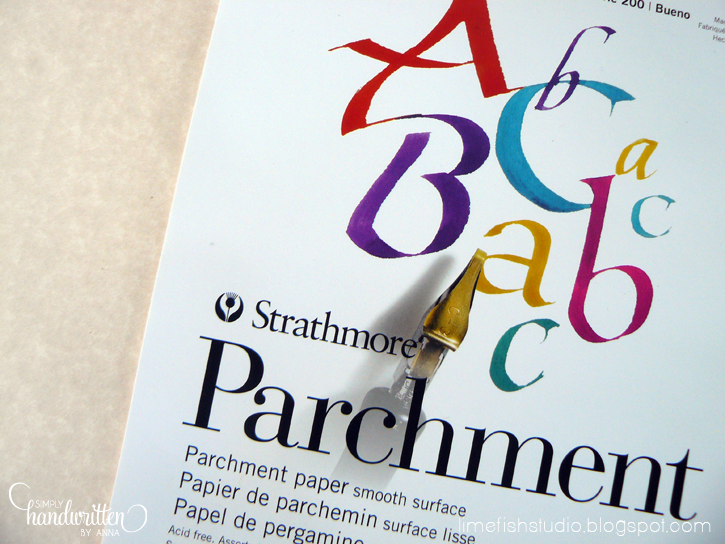
Paper:
The quality of your paper is an important part of getting the correct look for your calligraphy. If the paper bleeds, your lettering just won’t look professional. The best paper to use is parchment or vellum, but I have practiced on inkjet paper to be very economical. It’s probably not recommended, but a girl’s gotta cut corners somewhere! Here is a helpful guide to selecting paper for projects from The Calligraphy Pen. And remember to keep your paper quality in mind when purchasing cards and envelopes. I can’t tell you how many times I’ve been disappointed to see that the beautiful cards I purchased came with low-quality envelopes.

Guidelines:
You will need to make guidelines in order to get the spacing correct. Depending on the alphabet you are using and the look you are going for, you will create your guidelines based upon the “x-height” of your alphabet. There are many guideline generators online (i.e. Scribblers’ guidelines) for those that would like to save some time. Also, many calligraphy books will include pages of guidelines. However, to do this by hand, you will need a sharp pencil, a ruler and the pen you are working with. You can make your guidelines very faint on your final workspace, but make sure you have a good eraser.
Phantom Liner:
This is a life-saver if you plan on doing any large number of calligraphy projects or are working with an opaque surface. I purchased mine at Paper and Ink Arts online. All you do is place your guidelines on the board and they are reflected onto your writing surface. No slipping guidelines in and out of envelopes or erasing pencil guidelines! Click here to see an example.
 |
| … a member of the Limefish Studio 2013 Contributor Bubble |


.png)


limefish studio - I cannot thank Anna enough for her wonderful Contributor post! What an excellent beginner’s guide to calligraphy. I certainly wouldn’t have known where to start.February 12, 2013 – 12:33 pm
Emily @Delightfully DIY - I’m so excited for calligraphy posts! I’ve always wanted to try calligraphy, but looking at all the supplies and having no idea what I needed/where to start is daunting! This post is awesome and so helpful!February 27, 2013 – 11:46 am