 |
 |
► paper (we used slick finger painting paper)
► paint
► paper plates or palettes
► toilet paper rolls (cut in half)
*See slideshow below for my recommended books, materials, and more!
PROCESS
► Students were already introduced to Kandinsky in a previous class. This particular day, I brought in my own framed print of his Squares With Concentric Circles.
| *buy the print on amazon |
► Students took turns discussing what they saw (colors, shapes, patterns, sizes).
► I had my Pre-School students all hold up the hand that they hold a pencil with. Then, I had then wiggle their pointer finger. I even placed a sticker on that particular finger — it helped remind them to only use one and helped prevent a messy free-for-all with paint up to their elbows.
► After a quick demonstration, students set to work.
► I had prepared plates filled with paint, and each color had its own (1/2) toilet paper roll.
► Students chose their colors, dipped the roll into the paint and then stamped their paper to make their first circles.
► Their goal was to make one initial circle, and then use their “paintbrush finger” to add more paint around the outside edge… making the next circle grow larger…. and the next larger, and so on.
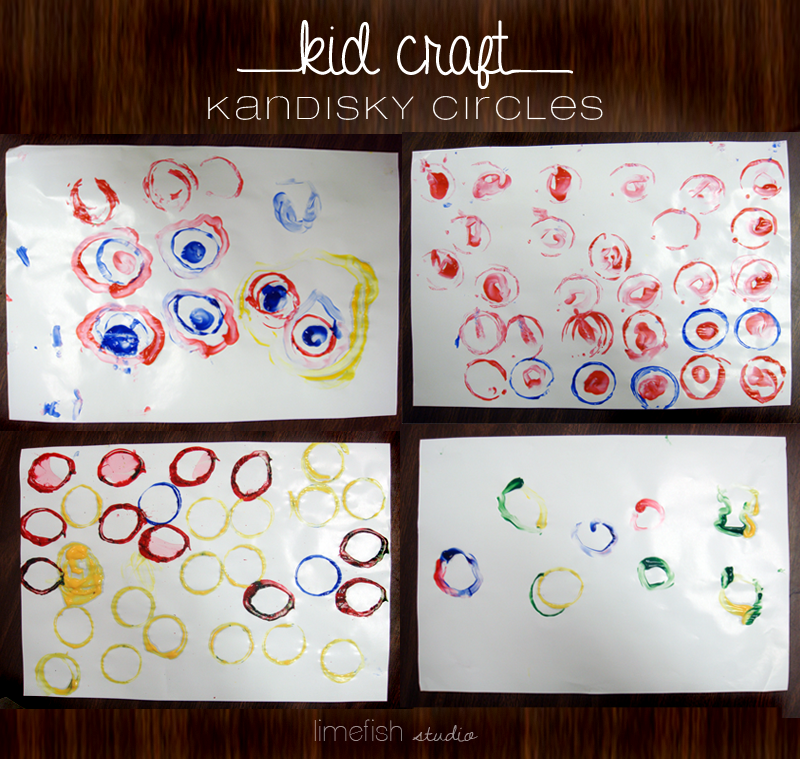
► Unfortunately, my classes are limited to only 30 minutes each, so the photos above show the progress achieved in that amount of time.
► It was amazing to see the wide variety of approaches the students took. Some covered the whole paper quickly with the first toilet paper stamp, and others were methodical to make each circle “grow” before moving on to the next. I made sure to leave the color choices up to them as well, and it was very interesting to see the assortment.
![]()


.png)