
► Click the INSTALL PAGE TAB button.
► Use the drop-down menu to select the page where you want to install the tab(s) and click the ADD PAGE TAB button.
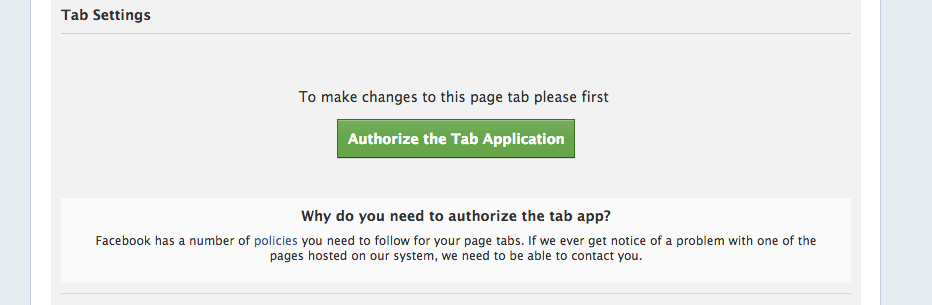
► Click the AUTHORIZE THE TAB APPLICATION button.
► Another window may appear asking you to verify your profile information, say OK.
► Your TAB SETTINGS window should appear (like below).
If you want this tab image to link directly to a different site, choose REDIRECT and add the website.
► Still in the TAB SETTINGS window… at the bottom you’ll need to type your TAB NAME (this is how it will appear directly under the tab on your main Facebook page) and click CHOOSE YOUR FILE to upload your new tab image. Then, click the SAVE SETTINGS button.
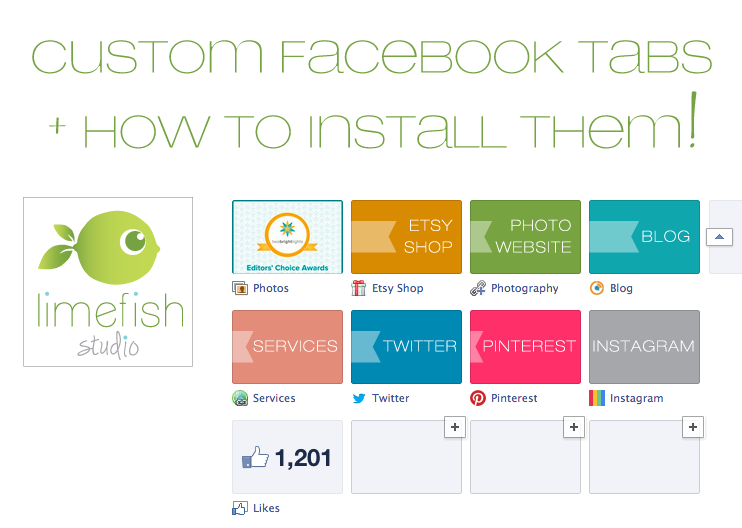
► If your tab icon did not appear, if you want to swap positions with another tab, or if you ever want to update the image tab in the future, simply visit your page and click the pencil tool (you may need to click the down arrow expand button (shown here with the 6 beside it).
► Select EDIT SETTINGS
► From here you can change the tab image or name. Click SAVE and/or OKAY.
► TA-DA! I hope this was helpful!


.png)