  |
 |
► paper
► paint
► paper plate or palette for paint
► q-tips
► chubby markers*
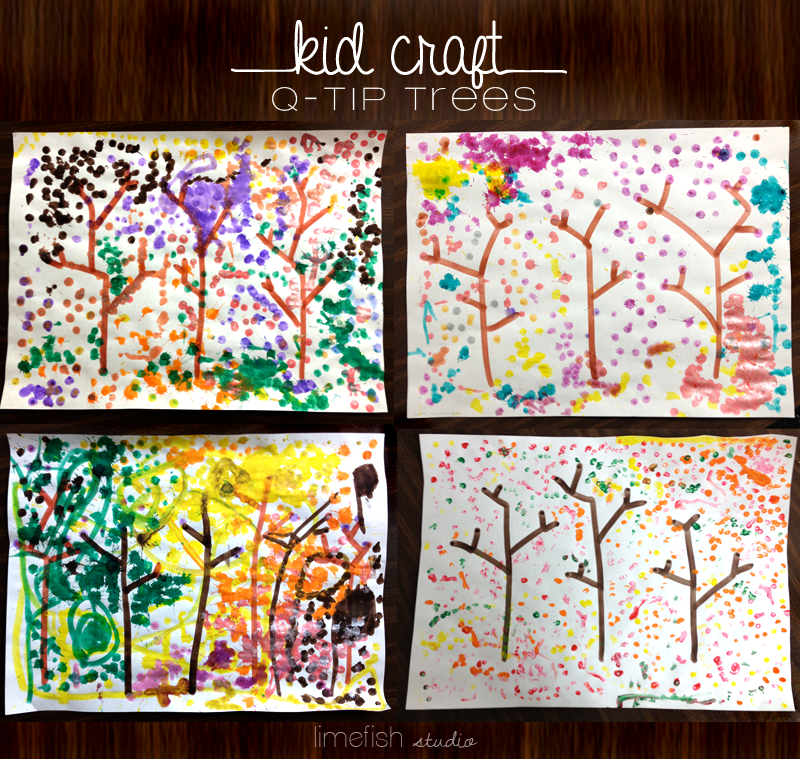
PROCESS
► Students closed their eyes to imagine the beautiful colors of the fall trees. We discussed the location of the leaves…. some on the branches, some floating through the air, and some on the ground.
► Each round table had a few students, one large piece of paper (with pre-drawn tree trunks & branches), and supplies.
*For some of the younger students, I opted to for chubby markers instead of paint & q-tips.
► We focused on the importance of sharing and working as a team.
► Students were required to think about all areas of the paper (since some students were looking at the paper upside down).
► Every so often, I would announce it was time to switch, and I would rotate papers so each student was now working on a new section of the picture.
► Everyone was thrilled with the results! These were displayed throughout the Pre-School hallway. And, another idea would also be to have the number of trees per paper coordinate with the number of students working on that particular group piece. Then, in the end, you could cut each paper so every student has a piece of art to take home.


.png)


LessonPlans-CraftGossip - These are so cute! And I love that you had them close their eyes to imagine the scene!! Just posted on Craft Gossip!!
http://lessonplans.craftgossip.com/?p=7609February 6, 2013 – 7:15 pm
limefish studio - Awww… thanks so much for the feature! It was truly an enjoyable lesson, and I can’t wait to share many many more! Hoping over to browse your site now.February 7, 2013 – 2:04 am